Experiments amb PiTFT
PiTft auto start x per la pantalla
Boot to X Windows on PiTFT
To enable booting straight to X windows on the PiTFT follow the steps below. First make sure a display configuration which would conflict is not present by executing in a terminal on the Pi:
sudo mv /usr/share/X11/xorg.conf.d/99-fbturbo.conf ~
Don’t worry if the command fails with an error that the file doesn’t exist. This failure is normal and should happen on a good PiTFT install. You can ignore it and move on.
Next run the command below to open the nano text editor as root and create the file /usr/share/X11/xorg.conf.d/99-pitft.conf:
sudo nano /usr/share/X11/xorg.conf.d/99-pitft.conf
When the editor loads to a blank file, copy in the text below:
Section "Device"
    Identifier "Adafruit PiTFT"
    Driver "fbdev"
    Option "fbdev" "/dev/fb1"
EndSection
Then save the file by pressing Ctrl-O and then enter, and finally exit by pressing Ctrl-X.
The step above will create a configuration file which tells X windows that it should use the PiTFT framebuffer (located at /dev/fb1) by default when it runs.
At this point you can use the raspi-config tool to enable booting to desktop just like normal on the Pi. Run the following command:
sudo raspi-config
Then pick the Enable Boot to Desktop/Scratch option and choose if you want to boot to the console, desktop, or scratch environment. After exiting the tool and rebooting you should see the Pi load X windows on the PiTFT after (be patient it can take around 30 seconds to load).
If you want to disable booting to X, just use the raspi-config command again to choose the console boot option.
Font: https://learn.adafruit.com/adafruit-pitft-28-inch-resistive-touchscreen-display-raspberry-pi?view=all
Per Evitar el Screensaver
He seguit aquest manual:
www.lifehacker.com.au/2014/11/make-an-animated-gif-photo-frame-with-a-raspberry-pi/
al fil de Adafruit diuen moltes coses més (a veure si m’aguanta el meu)
https://learn.adafruit.com/raspi-animated-gif-picture-frame?view=all#making-changes
PiTFT amb PyGame Menú per escollir scripts tàctil
- http://raspi.tv/2014/overlaying-text-and-graphics-on-a-photo-and-tweeting-it-pt-5-twitter-app-series
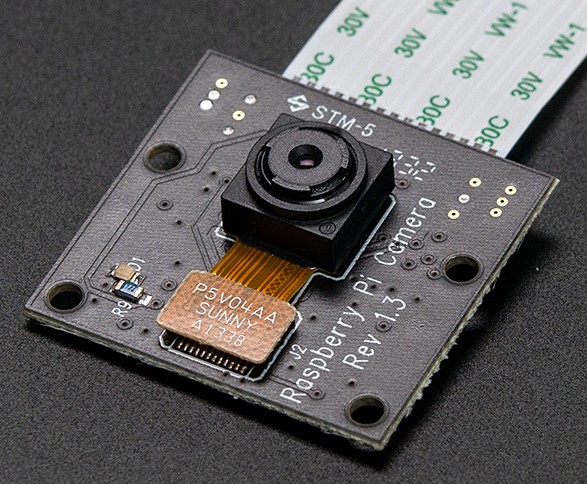
Experiments amb la Càmera
Streaming Web
Un altre experiment que he fet, és el de muntar un streaming via web de la càmera, aprofitant el RPi A+ i la càmera infrarojos que m’he comprat. Aquest procés és realment molt senzill, gràcies a un manual que vaig trobar, configurarem MJPG per fer streaming via sequència d’imatges jpg (no vídeo) Amb auto execució en enjegar el RPi.
- He fet servir aquest manual: http://blog.miguelgrinberg.com/post/how-to-build-and-run-mjpg-streamer-on-the-raspberry-pi
- Un altre manual: https://miguelmota.com/blog/raspberry-pi-camera-board-video-streaming/
- Amb MJPG: http://sourceforge.net/projects/mjpg-streamer/
- Executar a l’inici: http://www.instructables.com/id/Raspberry-Pi-Launch-Python-script-on-startup/?ALLSTEPS
Un altre experiment que voldré fer és el de aconseguir el mateix, però amb stream de vídeo i poder-lo enviar a serveis com youtube.
(Com que tinc l’entrada a mitges i no l’enllestiré, copio els enllaços al respecte i au!)
- Muntar un niu d’ocells amb infrarojos: https://www.raspberrypi.org/learning/infrared-bird-box/worksheet/
- Emetre per streaming: https://www.raspberrypi.org/learning/infrared-bird-box/worksheet2/
- Emetre a Youtube Live: http://www.reddit.com/r/raspberry_pi/comments/2ahzp2/raspberry_pi_encoder_live_streaming_to_youtube/
- Afegir marca d’aigua (Hora o data al vídeo): http://raspi.tv/2014/overlaying-text-and-graphics-on-a-photo-and-tweeting-it-pt-5-twitter-app-series
XBMC
No té massa secret, però tenia una pestanya oberta amb un manual bastant complert, que no he pogut ni revisar. El publico a aquí de moment
Afegeixo també uns altres manuals: